
2. Connect Payhawk
With your account set up, log in and you land on the Dashboard — empty for now. Open Connectors from the top bar. This is where you connect each system to PLANA Connect. You do this once per system: connect Payhawk here, connect Odoo in the next step, then pair them into a company.
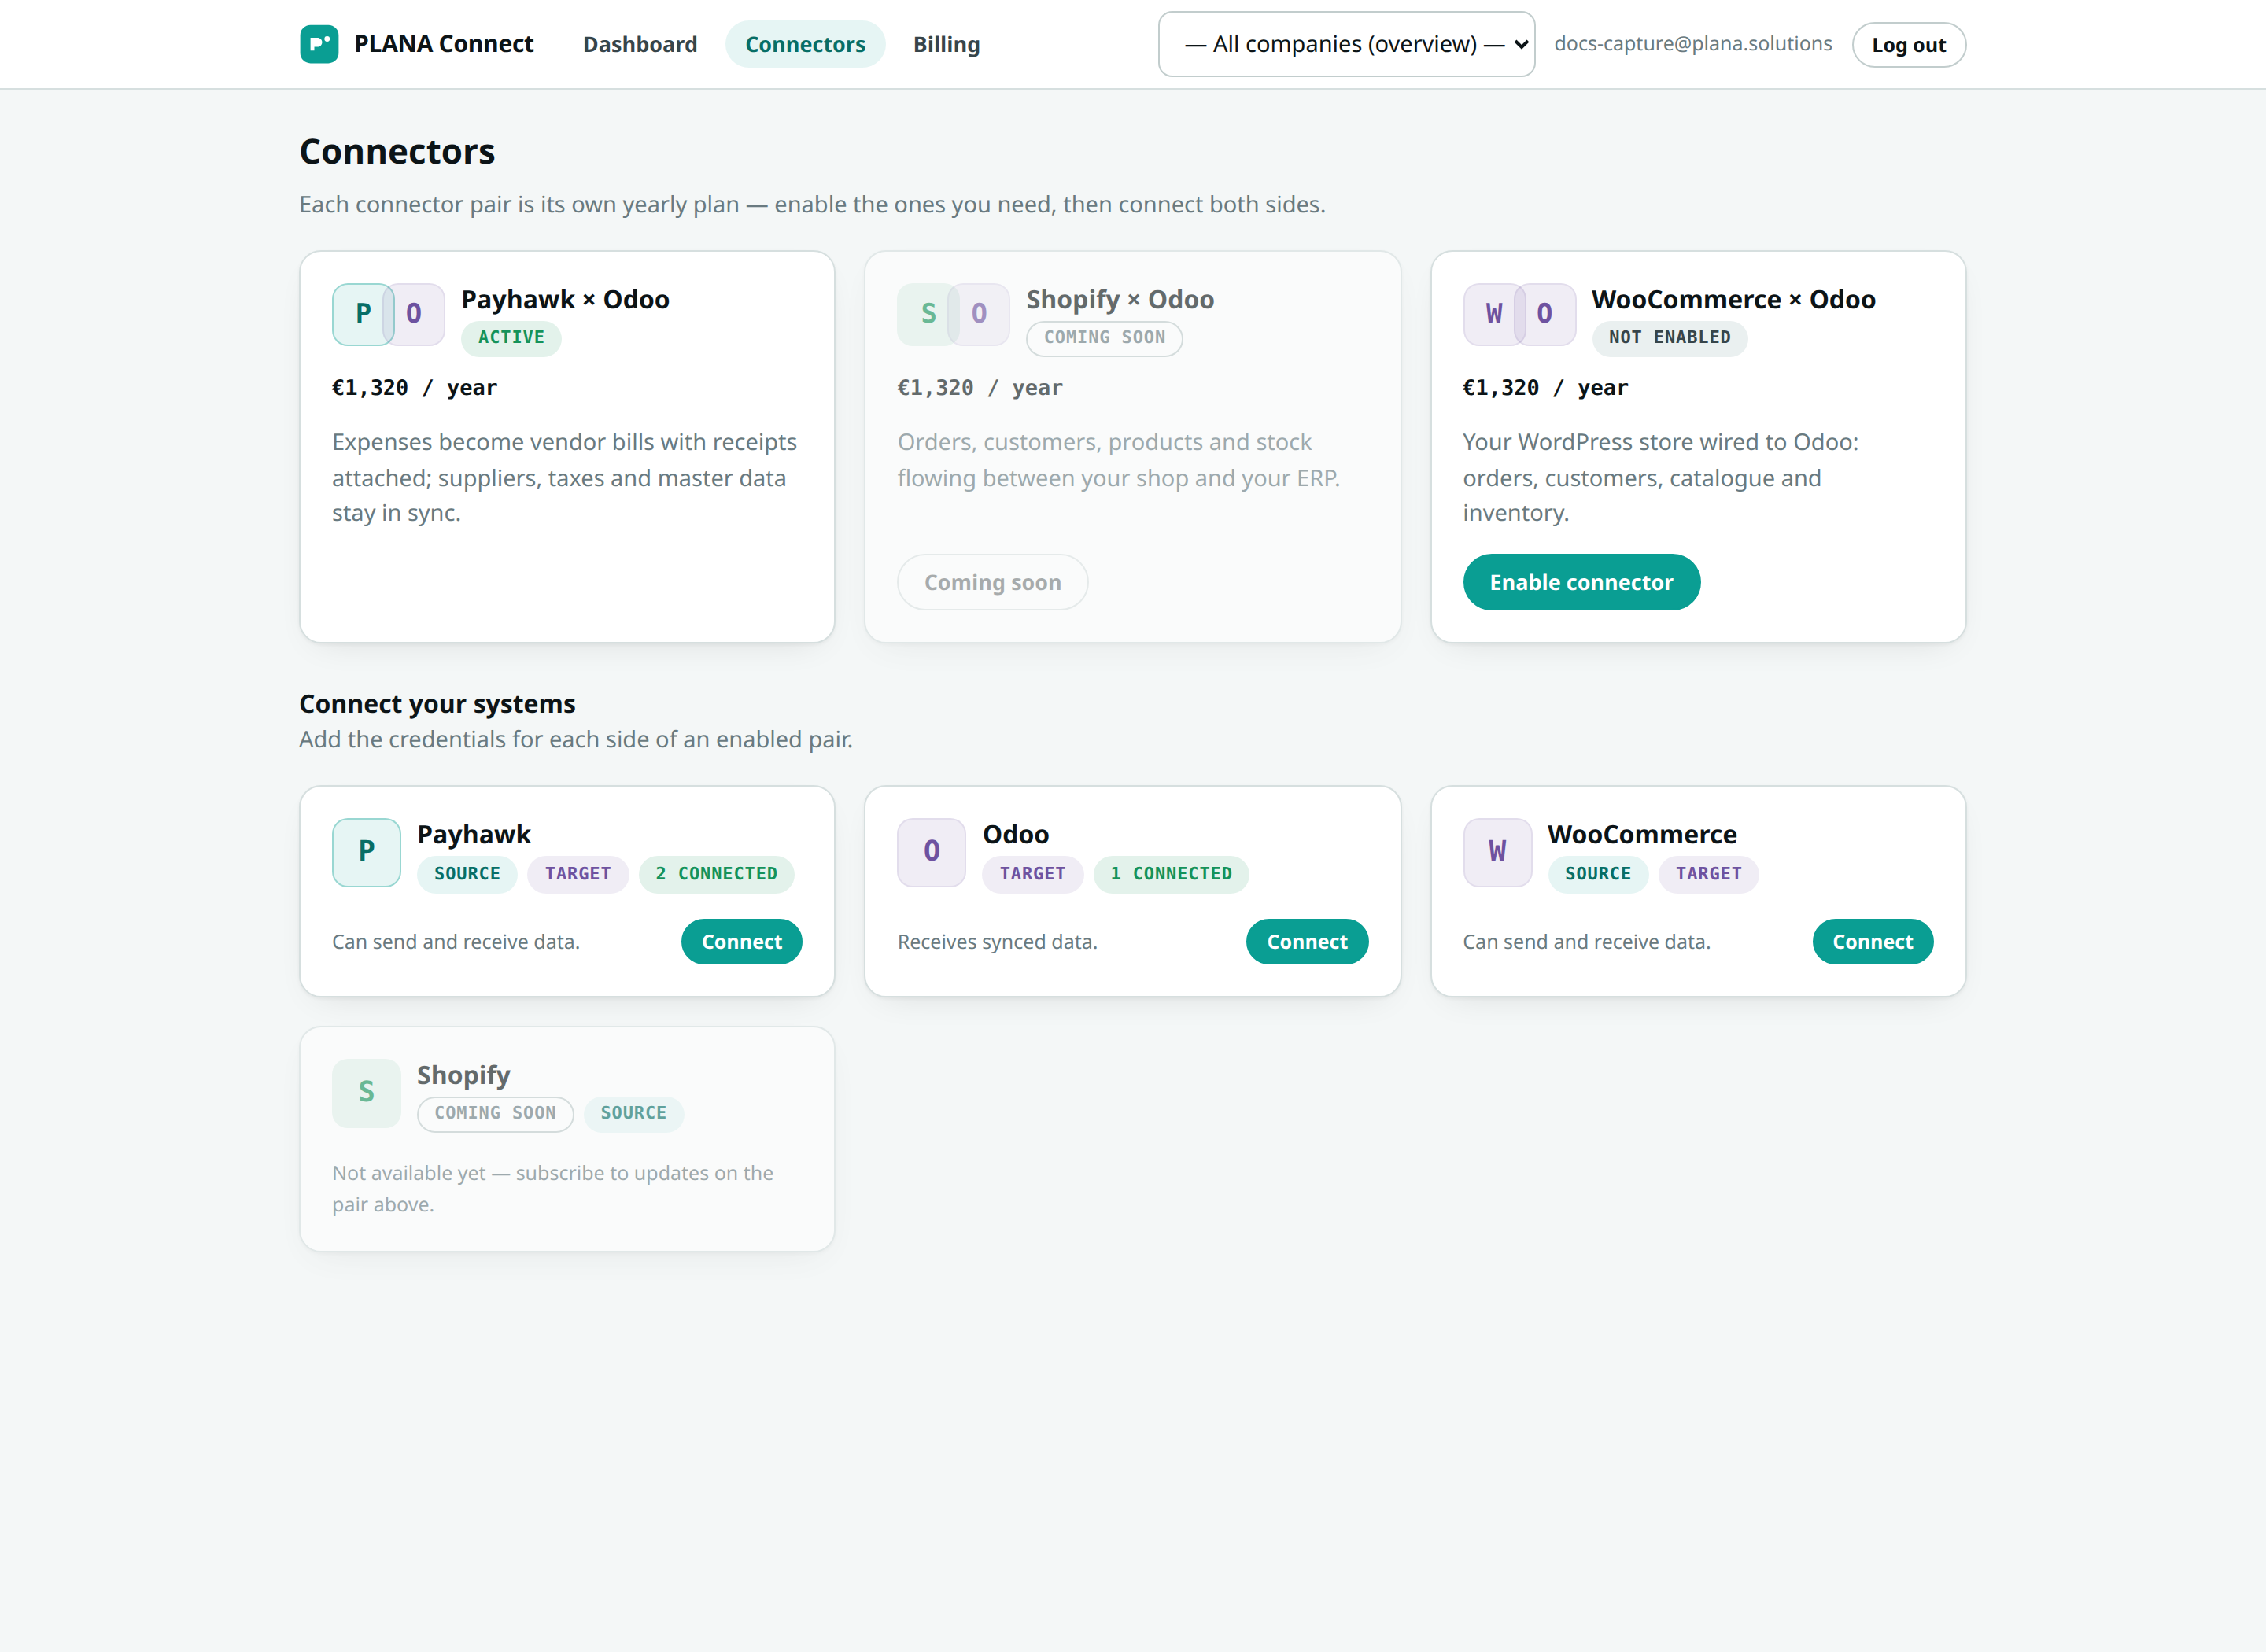
First, create a Payhawk API key
PLANA Connect talks to Payhawk with an API key that you create inside Payhawk. It takes a minute:
- In Payhawk, go to Settings → Integrations → API.
- Create a new API key and give it Full access.
- Copy the key now — Payhawk shows it only once.
Keep the key secret
The API key is a password to your Payhawk account. Don't email it, paste it into chats, or store it in a document. You paste it into PLANA Connect once, and we store it securely from then on.
Then, connect it in the portal
Back in Connectors, find the Payhawk tile and click Connect. A 3-step wizard opens.
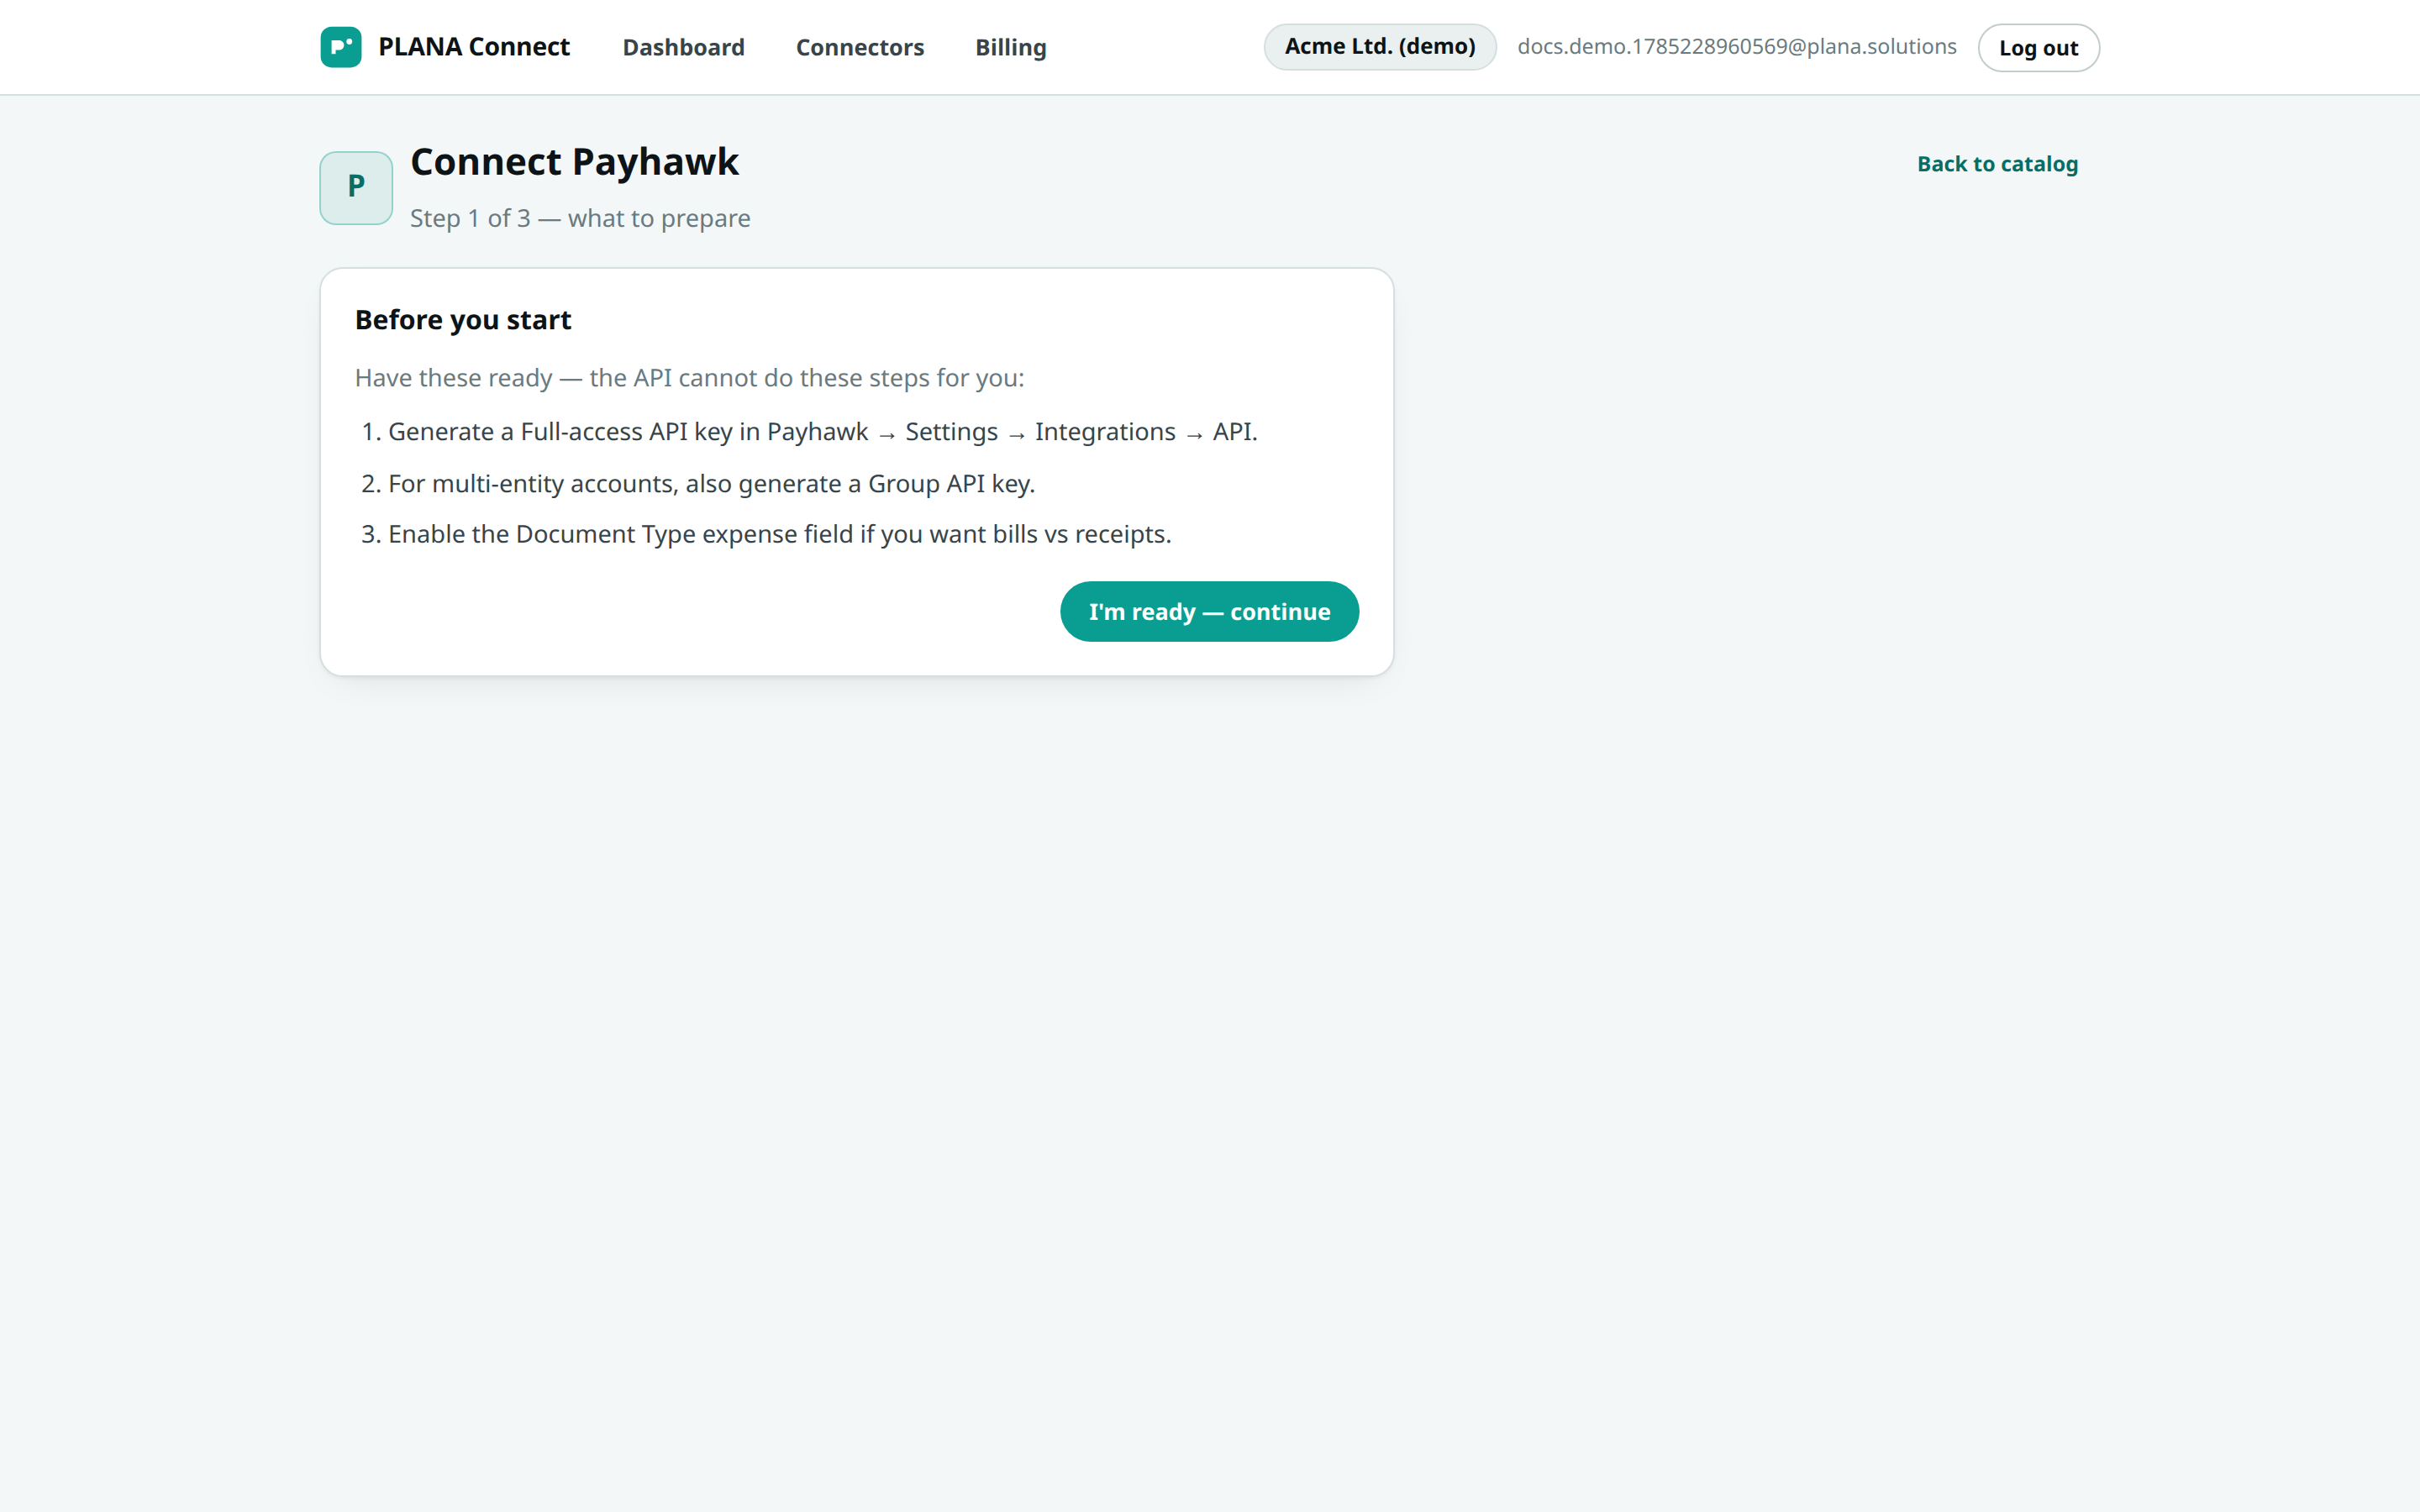
Step 1 — Before you start. A short checklist of what to have ready (your Full-access API key). PLANA can't create the key for you, so confirm you have it, then continue.
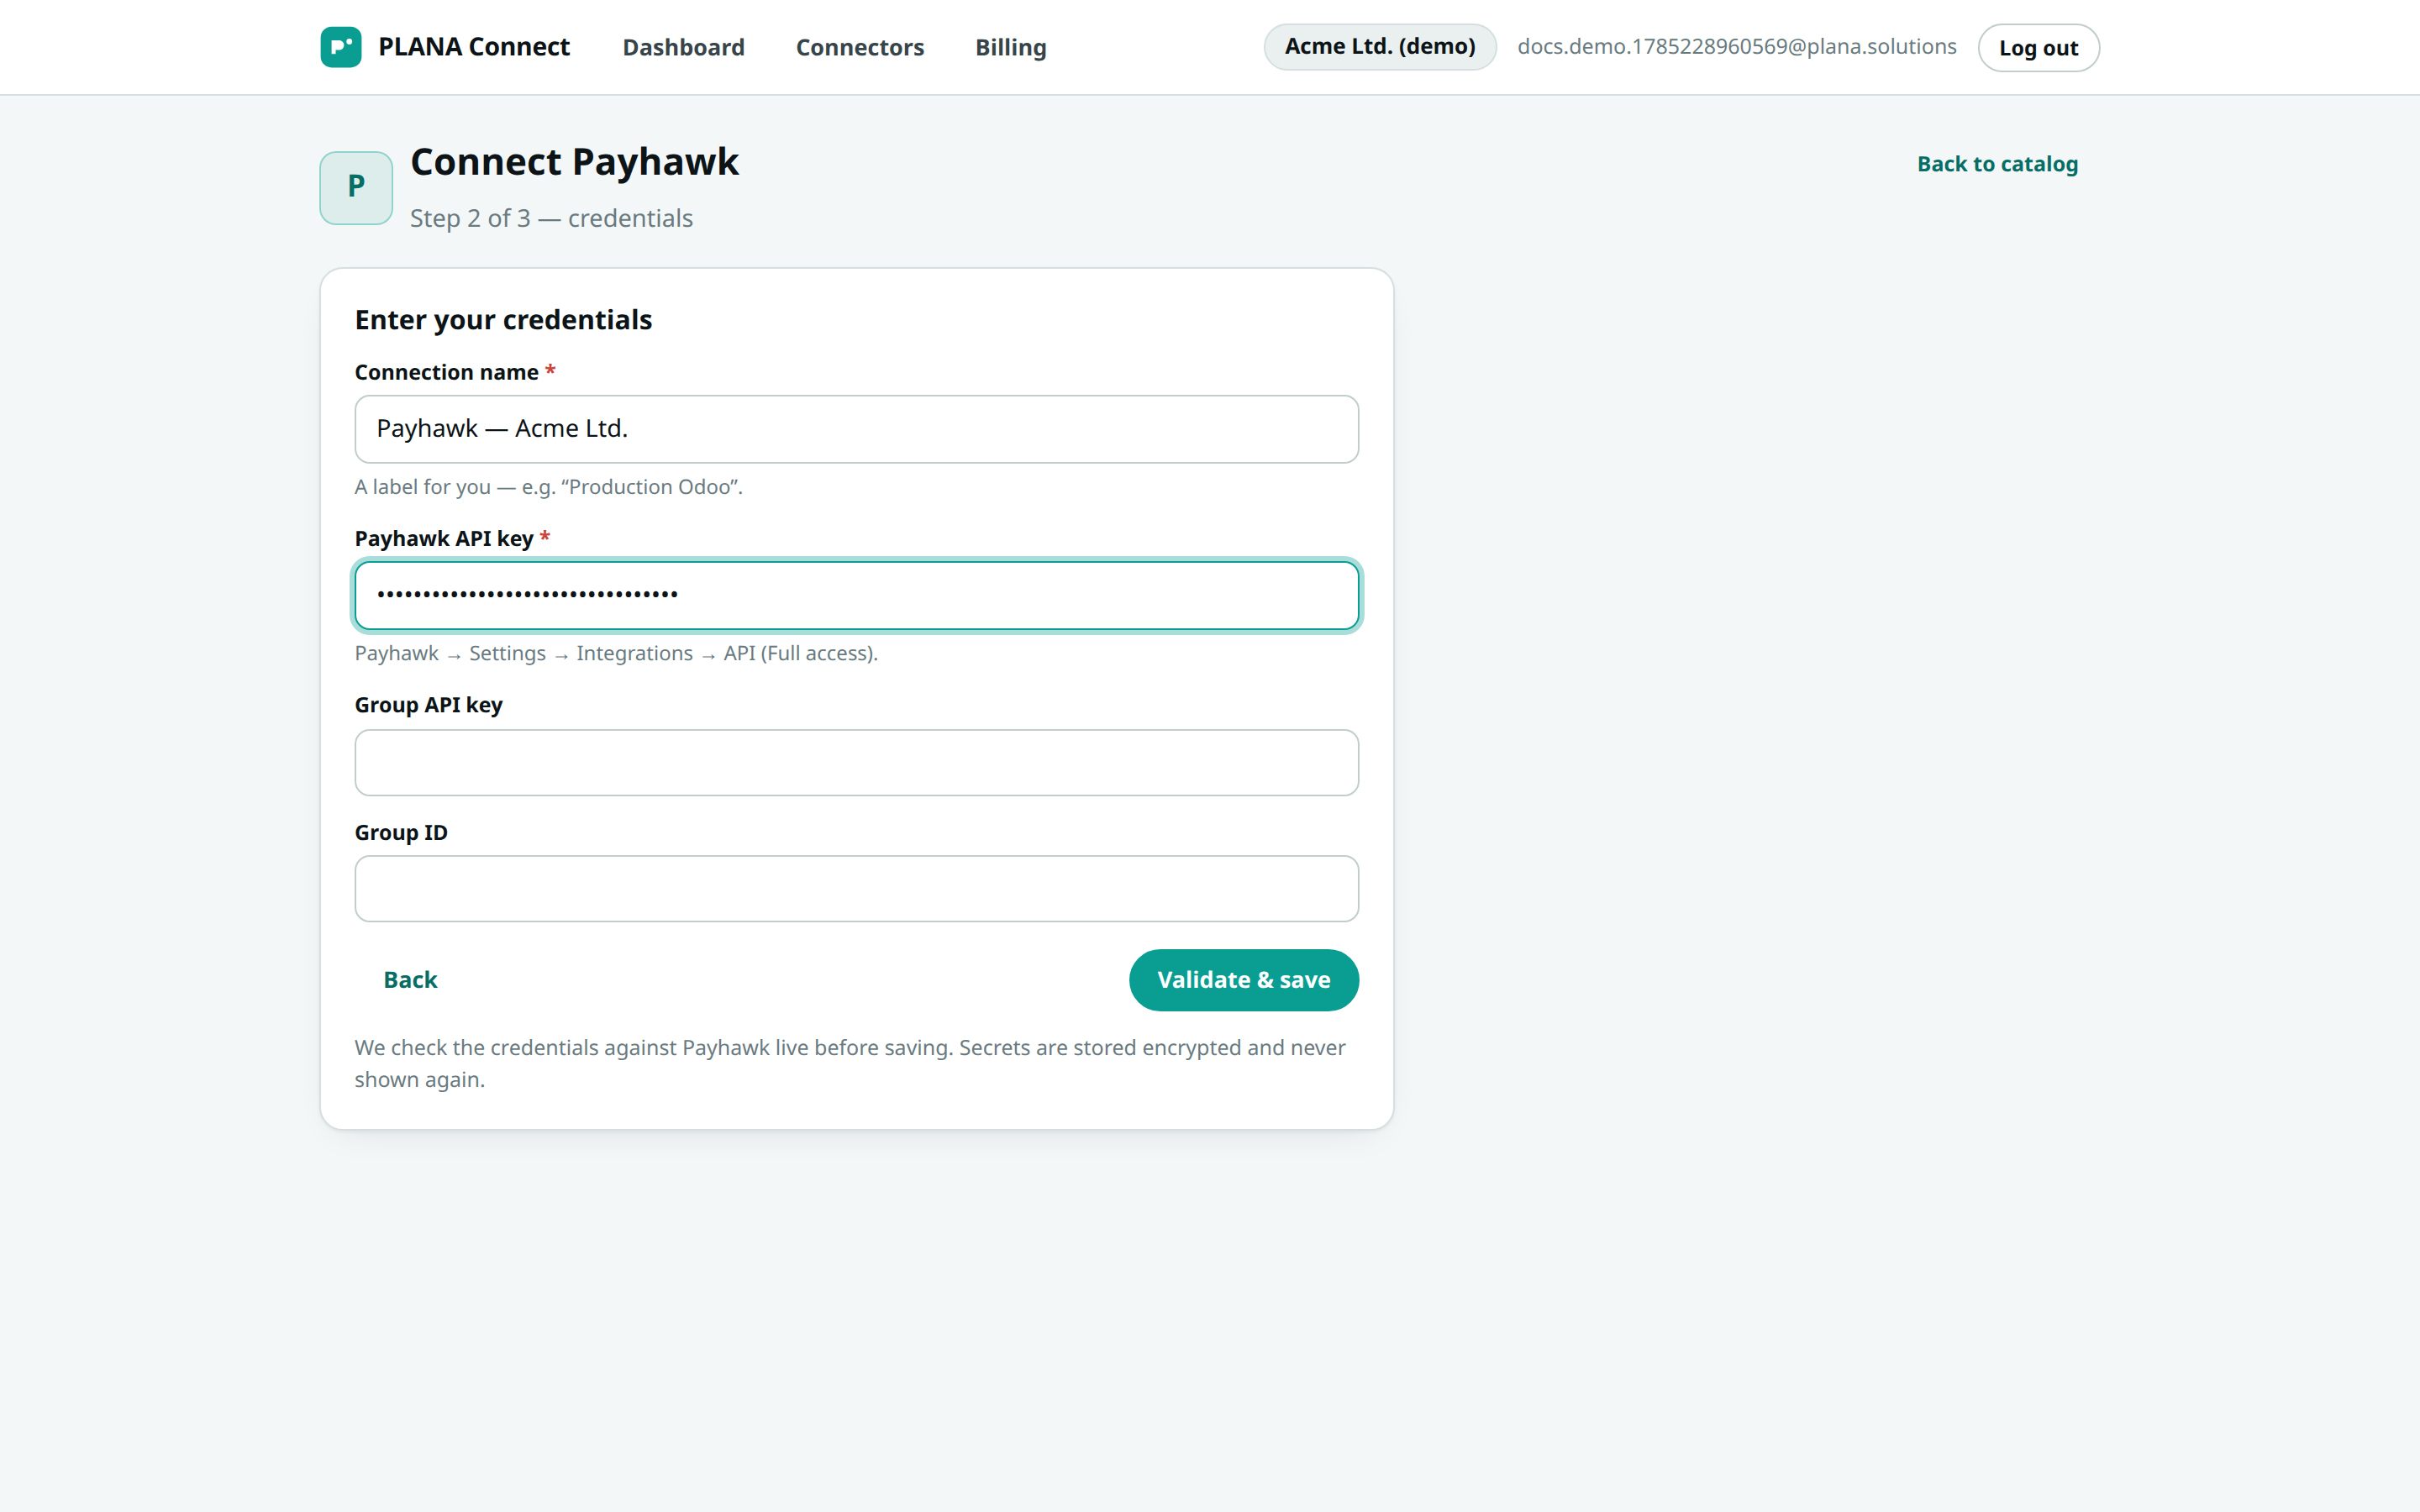
Step 2 — Enter your credentials. Give the connection a Connection name (something you'll recognise, e.g. "Payhawk — Acme Ltd"), then paste your Payhawk API key. Click continue and we verify it against Payhawk.
Step 3 — Connected. Your key is verified and stored securely. The wizard offers what to do next — connecting Odoo.
One connection = one Payhawk entity
Each Payhawk connection covers a single Payhawk entity. If your account spans multiple entities, add the optional Group API key and Group ID fields so PLANA Connect can see them all.
Next → 3. Connect Odoo