
5. Configure the sync
You created your company in step 4. Open it and click Settings — this is where you choose what flows between Payhawk and Odoo.
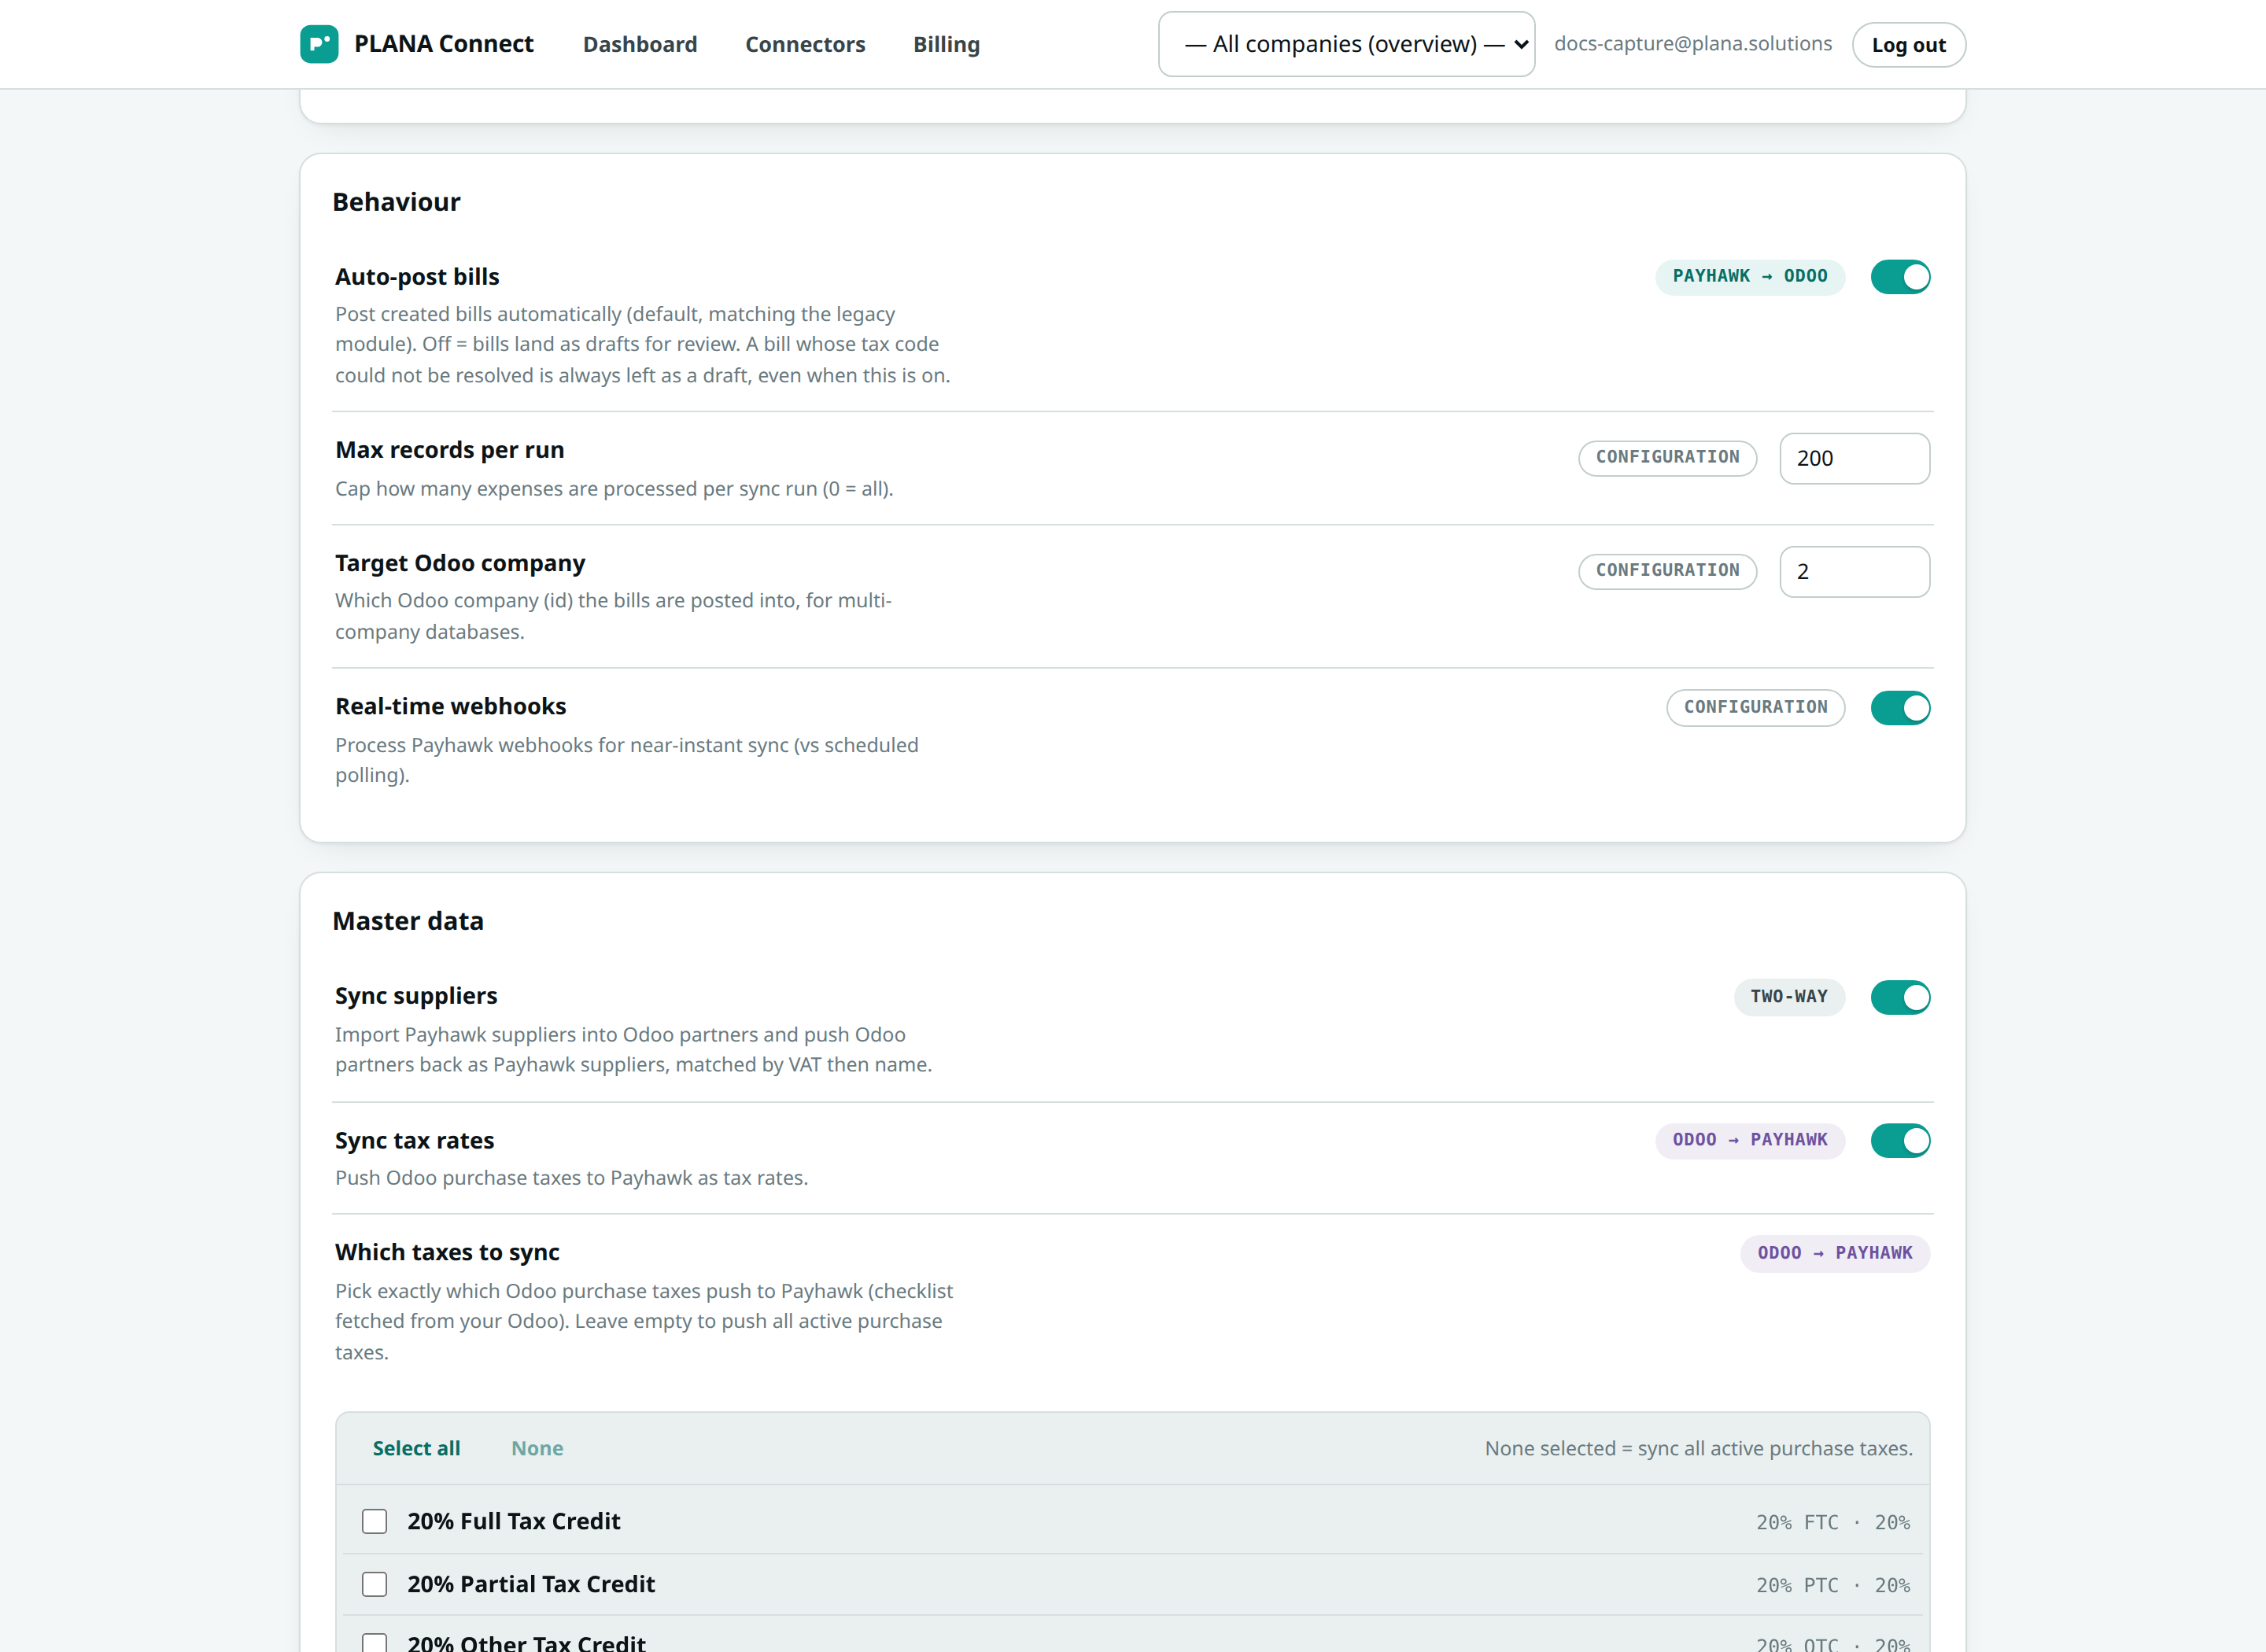
You can probably skip this page
The sensible defaults are already on. For most teams the setup is correct out of the box — you can head straight to the first sync and come back here only if you want to change something.
What each group does
Documents — turns Payhawk expenses into vendor bills in Odoo.
| Option | Default |
|---|---|
| Import expenses as vendor bills | On |
| Attach receipt documents | On |
| Back-link to Payhawk | On |
| Auto-post bills | On |
Master data pushed to Payhawk — keeps reviewers picking the same values you use in your books.
| Option | Default |
|---|---|
| Sync tax rates | On |
| Sync chart of accounts | On |
| Sync suppliers (two-way, matched by tax ID then name; Odoo is the master record) | On |
| Sync departments / analytics / branches / assets | On |
Payments — brings settled card and reimbursement money into Odoo.
| Option | Default |
|---|---|
| Import payments / bank movements | On |
| Set supplier on payments | On |
| Update currency rates | On |
Behaviour — the target Odoo company (required) and real-time webhooks (on) so a sync fires the moment an expense is reviewed.
Guards — Match base currencies (on) stops a sync if the two systems disagree on base currency.
Auto-post is on — but never for a bill it isn't sure about
With Auto-post bills on, PLANA Connect posts bills for you. But any bill whose tax code could not be matched to an Odoo purchase tax is always left as a draft with a warning for you to review — nothing incorrect is ever posted automatically.
Every setting is described in full in the sync options reference.