
4. Create your company
You now have two connections saved: a Payhawk source and an Odoo target. A company pairs them into a single link — a workspace where the sync happens. Everything from here on (settings, health checks, sync runs and logs) lives inside a company.
Create the link
From the Dashboard, choose Create company and fill in three things:
| Field | What to pick |
|---|---|
| Payhawk connection (source) | The Payhawk connection from step 2 |
| Odoo connection (target) | The Odoo connection from step 3 |
| Company name | A name you will recognise — this name is the company workspace |
| Target Odoo company | The Odoo company that bills and payments post into |
Pick the right target Odoo company
If your Odoo runs several companies, choose the one that owns these expenses. Bills, payments and suppliers all land in the company you select here — nowhere else.
Save, and the link is created. Each company is exactly one Payhawk entity paired with one Odoo company.
Several companies, one selector
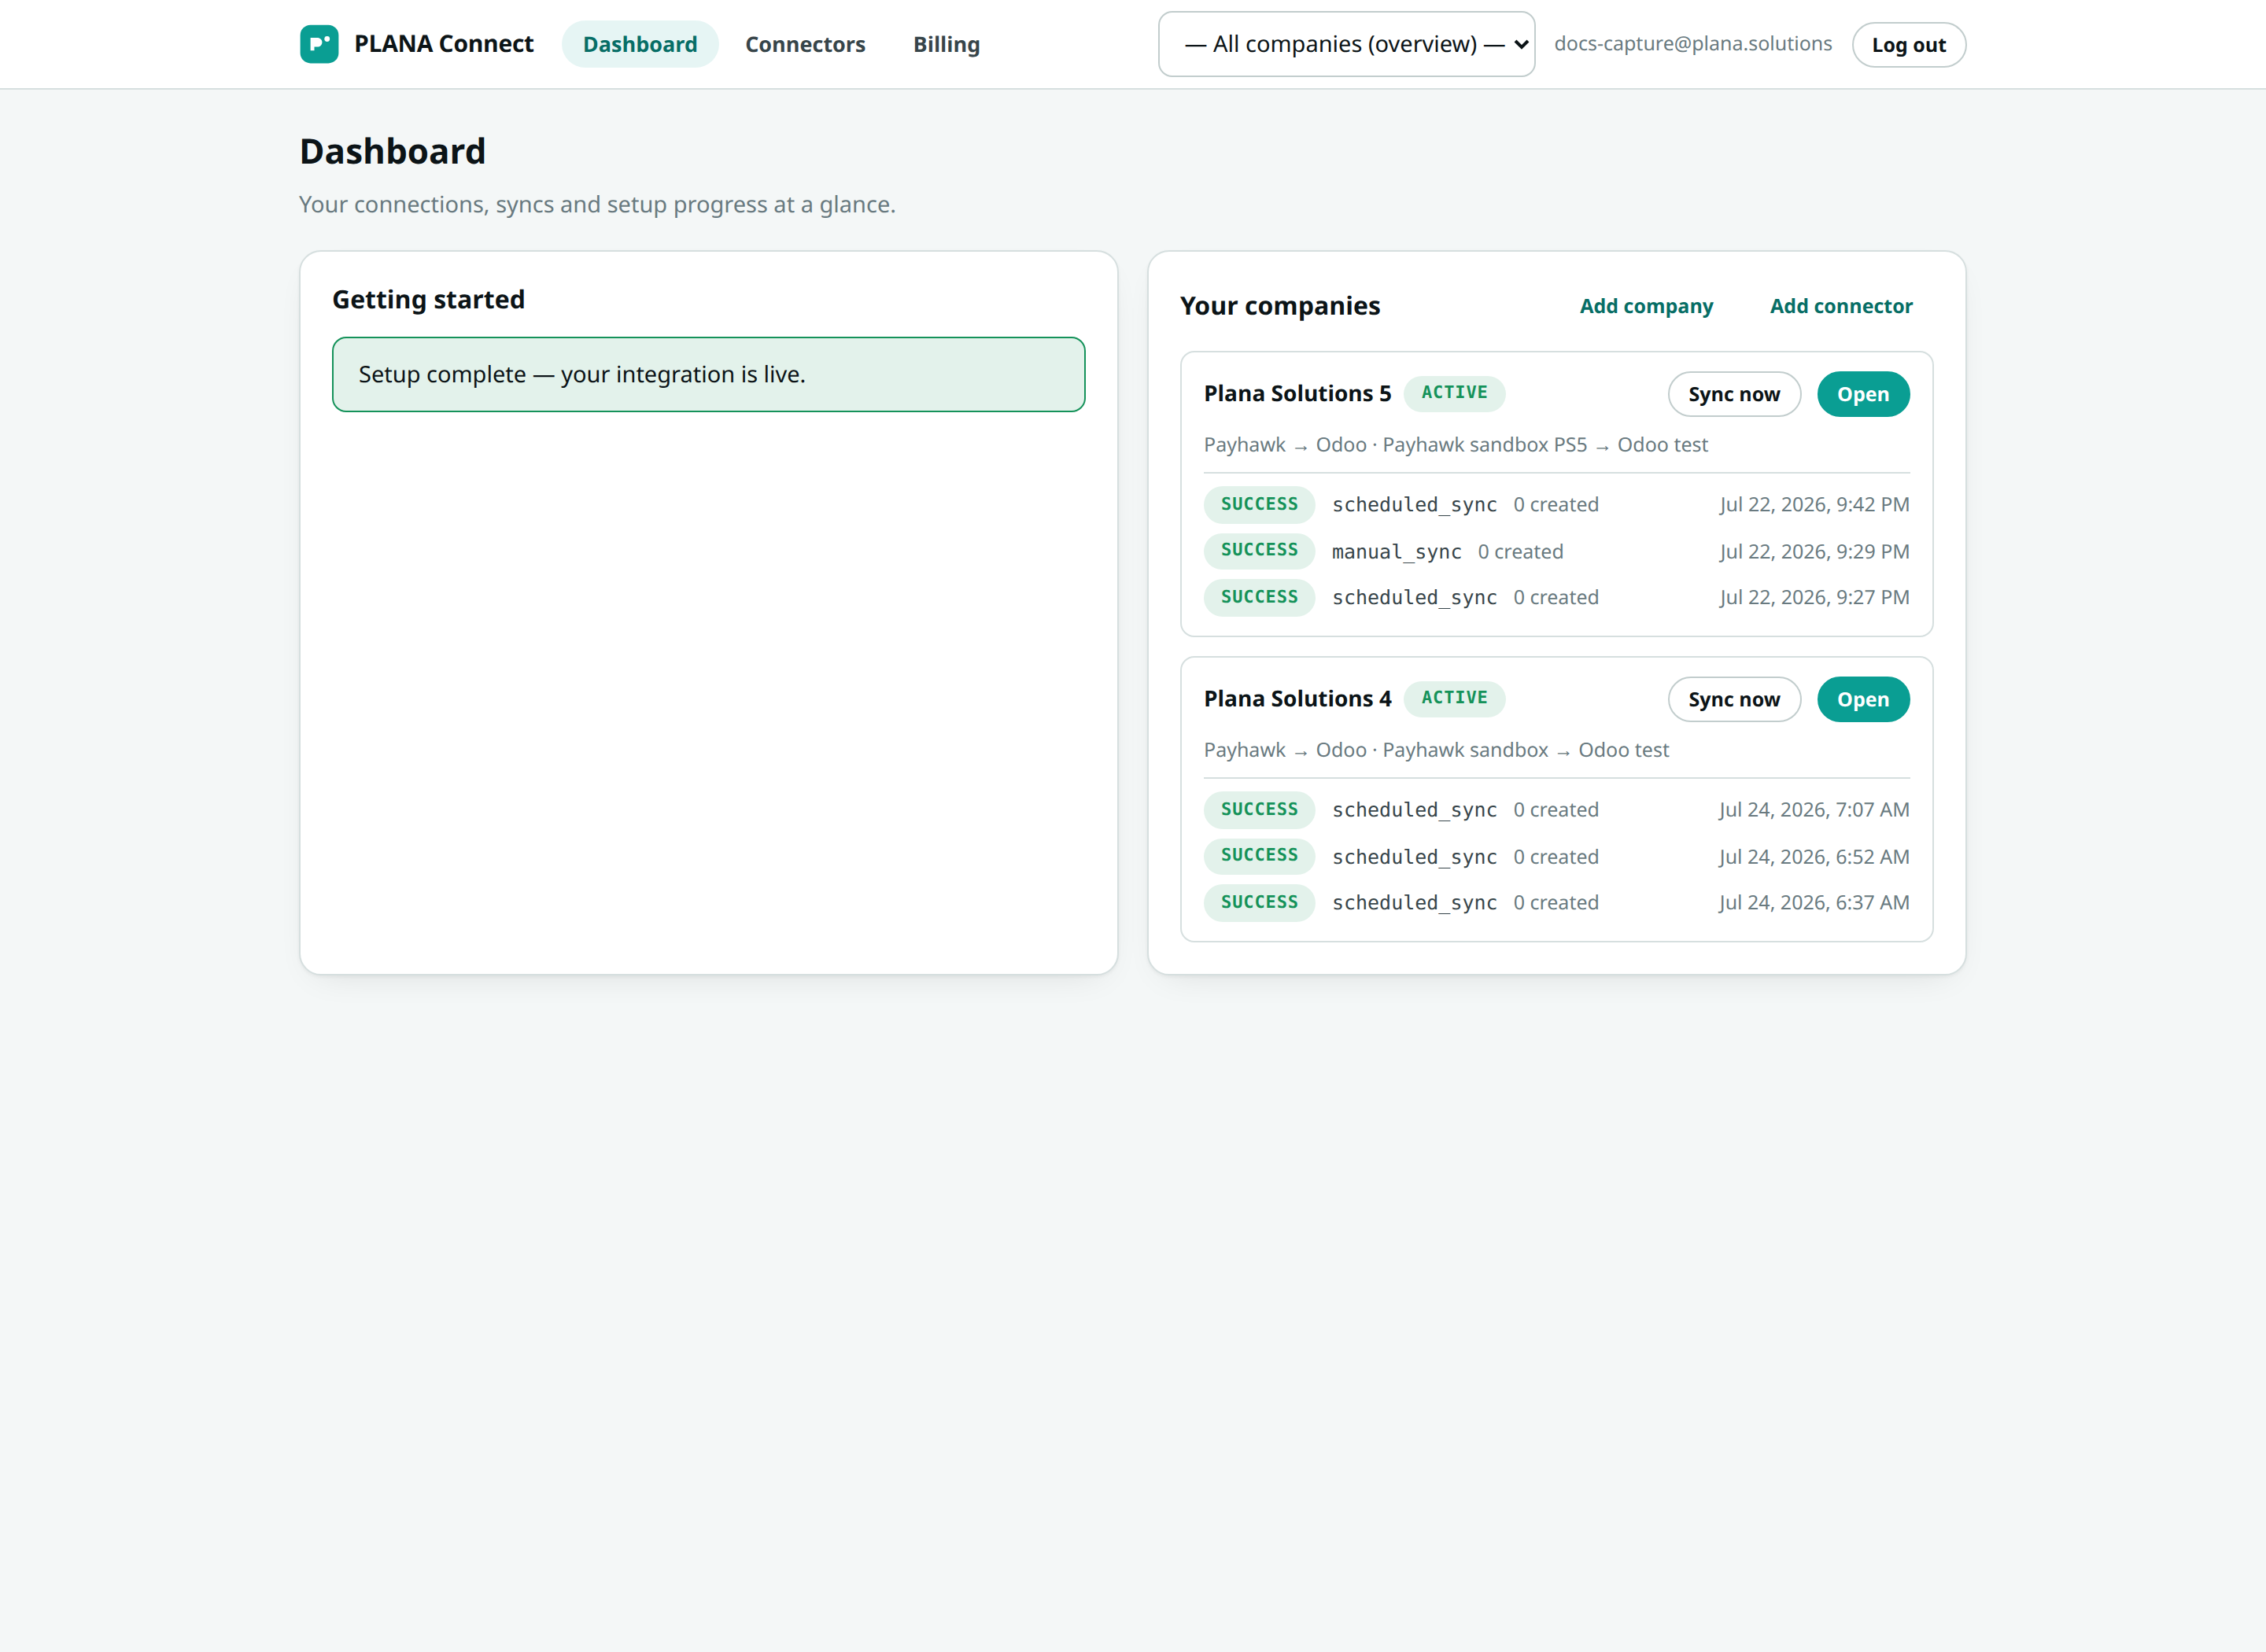
You can create as many companies as you have connections to pair — for example one per Payhawk entity, or one per Odoo company. Switch between them at any time using the company selector in the top bar; it scopes the whole portal to the company you have chosen.
Multi-entity Payhawk
Running several Payhawk entities under one account? Create one company per entity, each paired to the right Odoo company. See the optional Group API key note in step 2.
Your new company now appears on the Dashboard.
Next you decide what flows between the two systems — the sync options.