
8. Go live
You have connected both systems, run a sync, and confirmed expenses flow in via real-time webhooks. Time to move from testing to production.
Subscribe to the plan
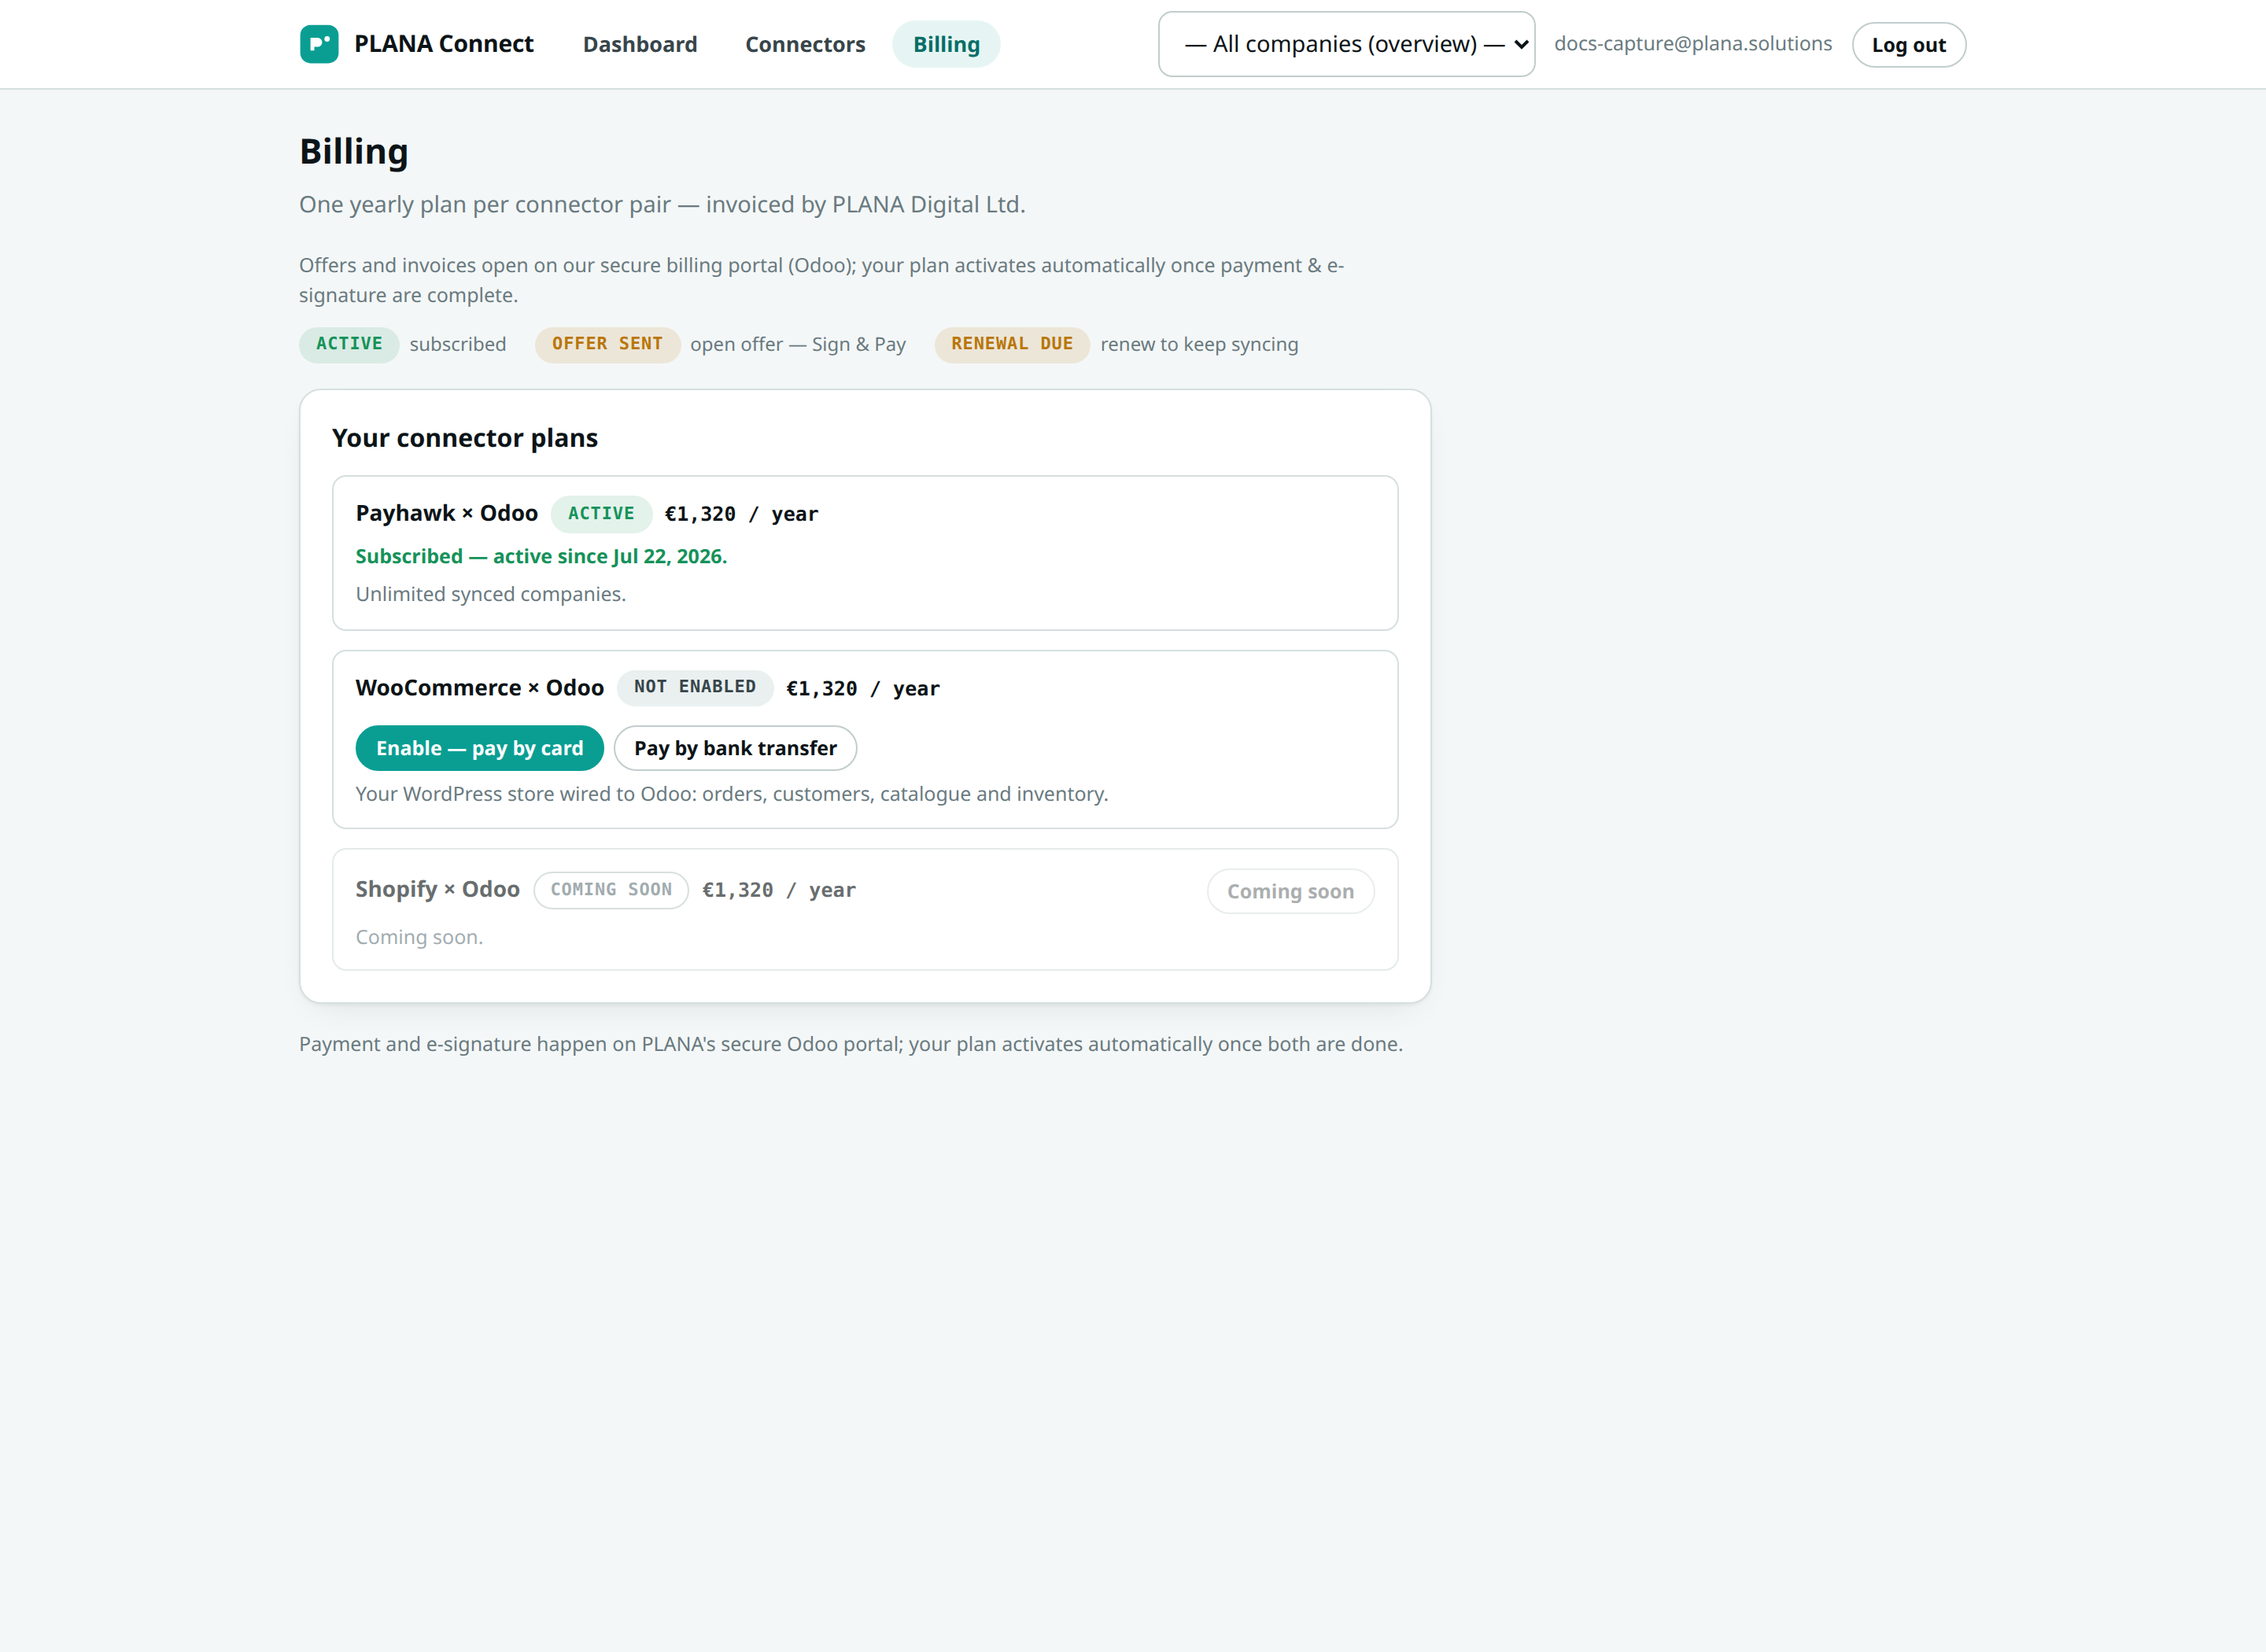
Everything so far runs as a trial. To keep syncing beyond testing, open the Billing page and subscribe to the Payhawk × Odoo plan — a single yearly subscription that covers the connector for one company.
One subscription per link
Each company (one Payhawk entity → one Odoo company) is its own Payhawk × Odoo subscription. Multi-entity accounts subscribe once per link.
Switch to your production key
If you tested with a sandbox Payhawk key, swap it for your production key now. Open the Payhawk connection, edit the credentials, and paste the production key created in Payhawk → Settings → Integrations → API (Full access). Your Odoo connection does not change.
Sandbox data stays in sandbox
A sandbox key only ever sees sandbox expenses — real expenses will not flow until the production key is in place. Don't skip this if you tested against sandbox.
Go-live checklist
Run one last pass before you rely on it:
| Check | How to confirm |
|---|---|
| Health check green | On the company page, run the Health check — both connections must pass. |
| Target company correct | In Settings, confirm the Target Odoo company is the one you post to. |
| Taxes mapping | Spot-check a posted bill in Odoo — each line should carry the right purchase tax and correct totals. |
| Webhooks on | Confirm Real-time webhooks is enabled so expenses sync the moment they are reviewed. |
Nothing wrong is ever posted automatically
If a Payhawk expense's tax can't be matched to an Odoo purchase tax, that bill is left as a draft with a warning — never auto-posted. You review it, fix the mapping, and post it yourself. Only bills with a clean tax match post automatically.
You are live. Reviewed Payhawk expenses now flow into Odoo in near real time.
Next: Sync options reference → — every setting explained.